Using the Microsoft Message Queue (MSMQ) Server
Check out this article and learn how to use the Microsoft Message Queue Server when using WEBfactory 2010.
Setting up the Microsoft Message Queue (MSMQ) Server
Follow the next steps to enable Microsoft Message Queue (MSMQ) Server on your machine:
Open Control Panel (Start Menu > Control Panel) and access the Programs and Features (Programs > Programs and Features) window. Click on the Turn Windows features on or off link from the left-side panel of the Programs and Features window.
Alternatively, you can just type windows features in the Start Menu search box and the Turn Windows features on or off shortcut will be provided.
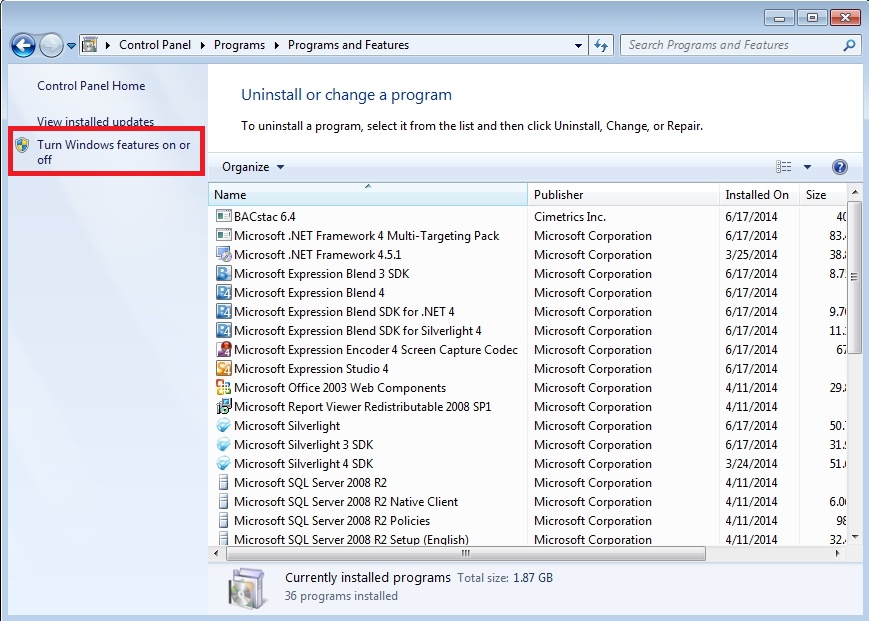
Programs and Features window
In the Windows Features dialog, select the Microsoft Message Queue (MSMQ) Server node and all its sub-components.
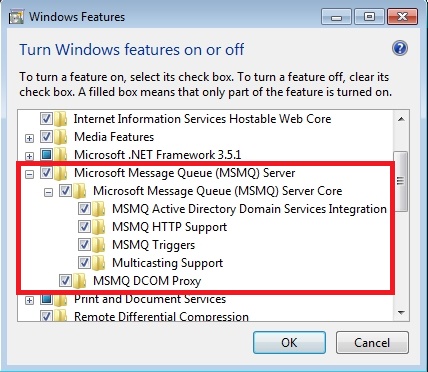
Adding the Microsoft Message Queue (MSMQ) Server feature
Click OK to confirm. Wait until the operation is complete.
Creating a Message Queue
Follow the next steps to learn how to create a private or public message queue:
Open the Computer Management window by either right-clicking on the Computer in the Start Menu and selecting Manage or by typing computer management in the Start Menu search box and using the provided shortcut.
In the Computer Management window, expand the Services and Applications node from the left-side panel. The Message Queuing will be available there.
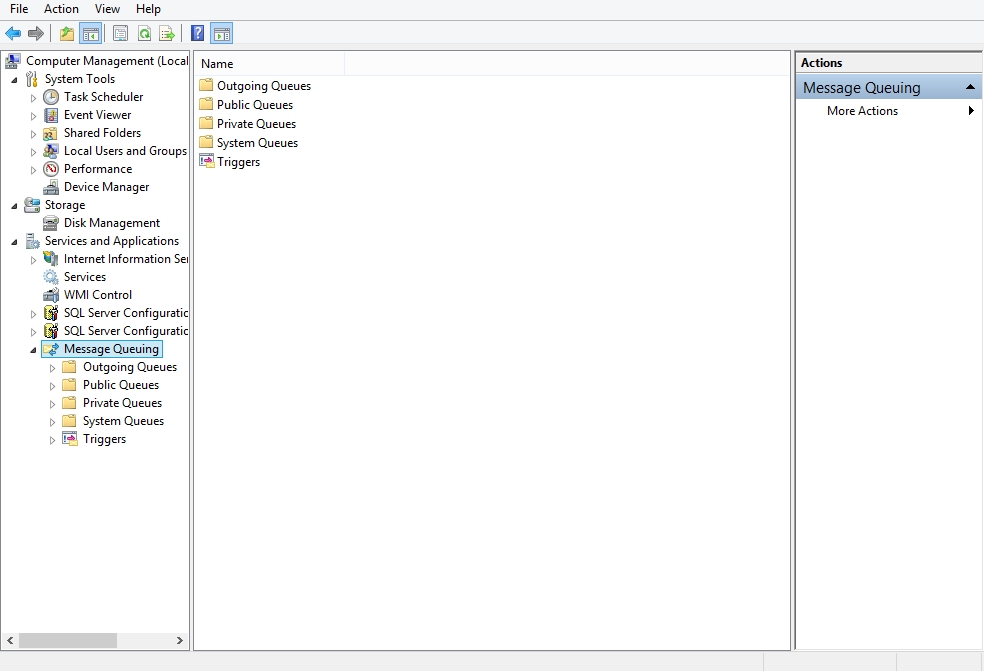
Message Queuing in Computer Management
To create a new queue, right click on the desired queue folder (Public Queues or Private Queues) and select New > Public/Private Queue.
Public Queues are available only in an Active Directory environment. In a Workgroup environment, only Private Queues are available. Read more about Public and Private Queues here: Administering Queues
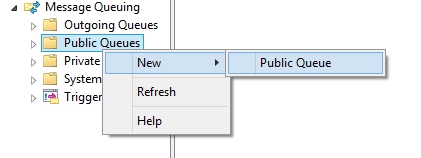
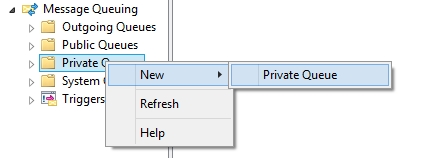
Creating a new Public Queue
In the New Public/Private Queue dialog, enter the name of the queue in the Queue name text field. Click OK to confirm.
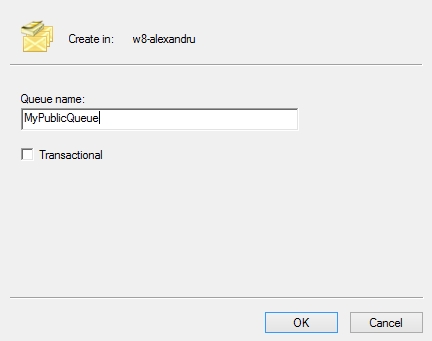
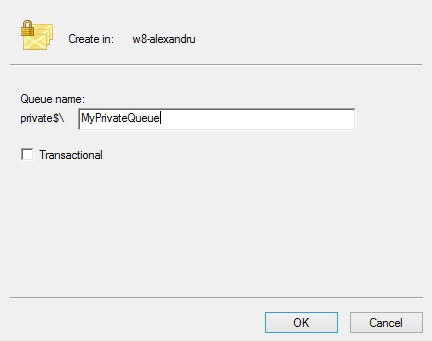
The New Public/Private Queue dialog
The new queue is now available in the appropriate folder: Public Queues or Private Queues.