SchedulerPro Visual Structure
This article describes the i4scada SchedulerPro visual structure and the options encountered in this view.
The Visual Structure section shows the layout of the control at run time, providing detailed naming and descriptions. The SchedulerPro entry is available in the i4scada Studio, under the Settings section.
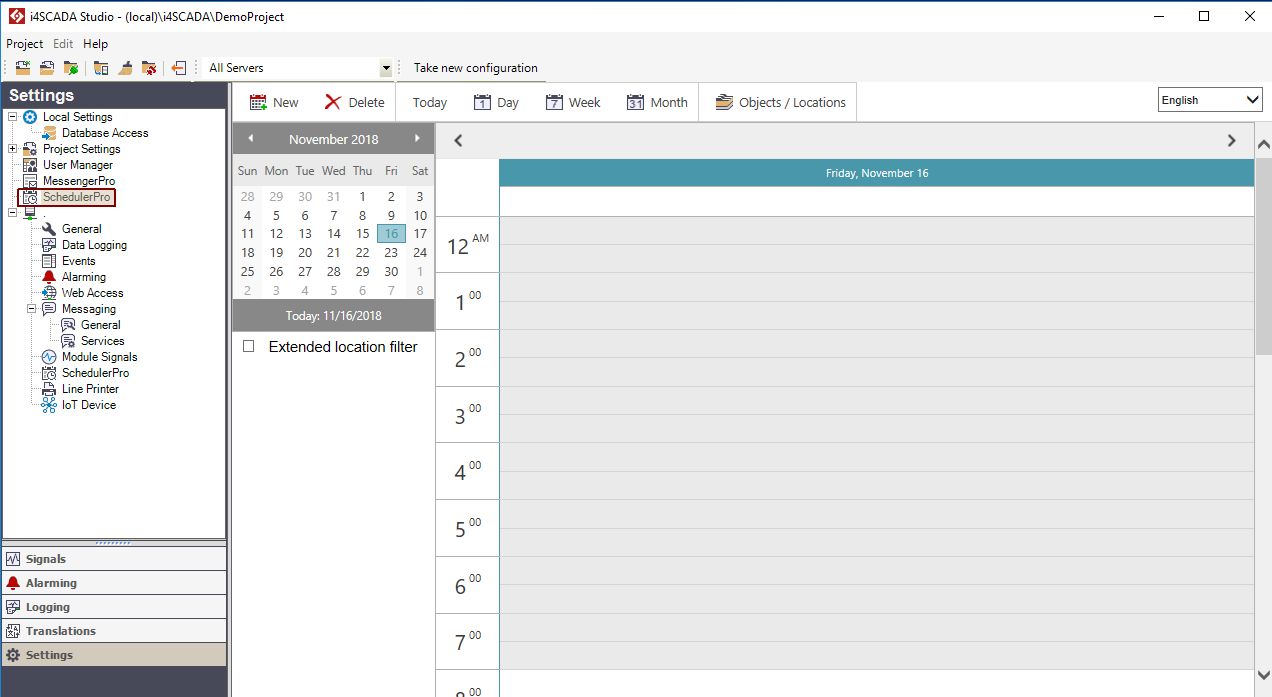
Visual Structure of SchedulerPro
Toolbar options
The SchedulerPro toolbar allows the user to create new events, toggle the main view to day view, week view, and month view, edit objects and locations and select the display language for the SchedulerPro module.

SchedulerPro
New and Delete
The New button allows the user to schedule a new event in the SchedulerPro calendar.
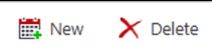
New schedule and Delete Schedule buttons
When pressed, the New button opens the Event details window, allowing the user to create a new event, schedule it, associate a program to be triggered by the event and configure exceptions.
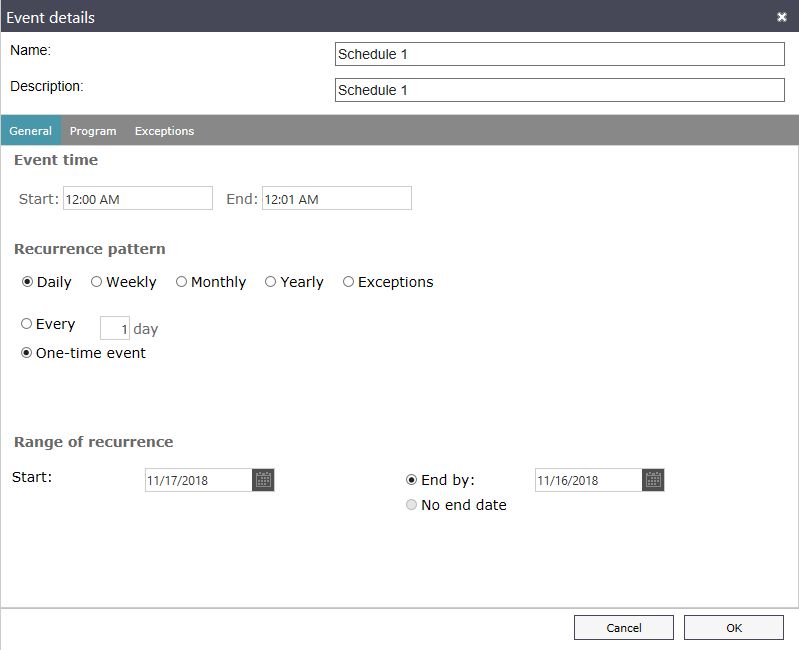
Event details
The Delete button allows the user to delete the selected scheduled event.
Today, Day, Week and Month
The Today, Day, Week and Month buttons allow the user to change the main view of the SchedulerPro module to display today's scheduled events, to display a day view (for any manually selected date), a week view or a month view.

Today, Day, Week, Month
Object/Locations
The Object/Locations button opens the Objects/Programs window, in which the user is able to add, edit or delete locations and programs associated with the locations.
Object / Locations button
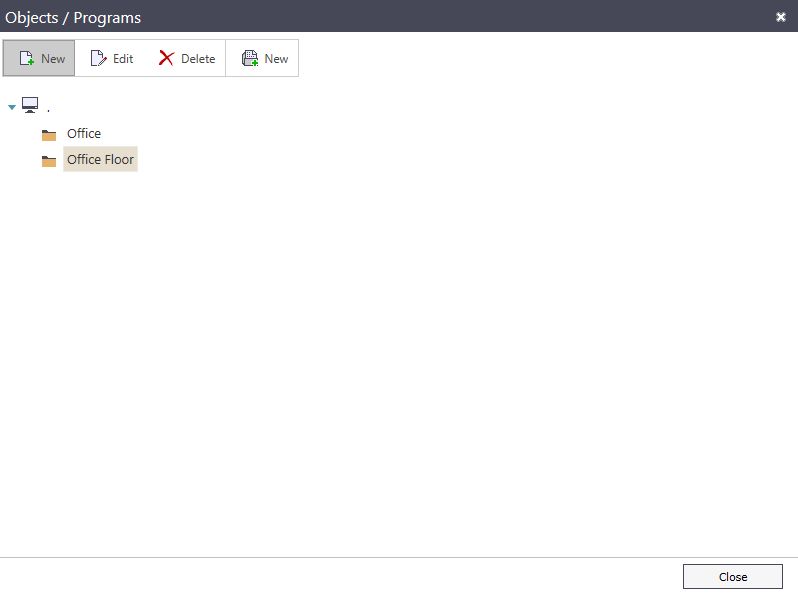
Objects / Programs window
Logged On User
The Logged On User section of the tool bar is available exclusively in the Web Application. The browser toolbar displays the currently logged in user in the SchedulerPro module and allows the user to log out, using the key shaped button.

Logged on user
Language
By selecting the language from the upper-right drop down box, the user is able to change the language of the SchedulerPro module at run time. The languages must be defined in i4scada Studio under the Languages settings section.
Note
The languages can be added and marked as active in the Internationalization section of Ewon by HMS Networks Studio.
The translation labels for WEBfactory SchedulerPro start with the “WFSN_MSGPW_” string.
Languages drop-down box
Calendar
The calendar panel of the SchedulerPro user interface allows the user to manually select the date to be displayed in the main view. It also displays today's date.
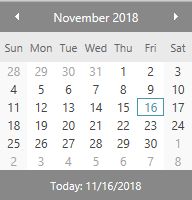
Calendar panel
Main View
The main view of the SchedulerPro module displays, depending on the selected option from the tool bar, the following views:
The day view, showing all the scheduled events (and attached programs) for the selected day.
The week view. showing all the scheduled events for the selected week.
The month view, showing all the scheduled events for the selected moth.
Contextual menu
Right-clicking on the main view will bring up the contextual menu. The contextual menu will display different options depending on the clicked item. If clicking on an empty space (with no event scheduled), the contextual menu will display the following options:
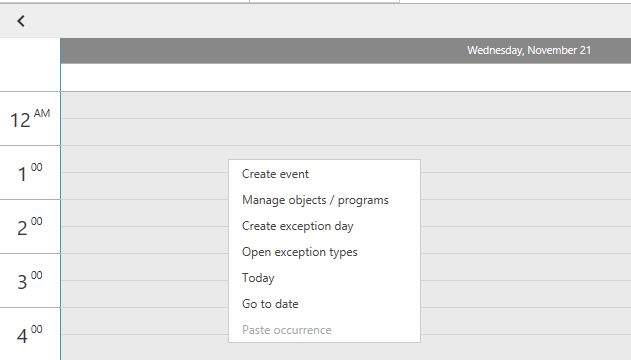
Contextual menu
Contextual menu of SchedulerPro | Description |
|---|---|
Create event | Opens the Event details window and allows the user to schedule a new event starting with that indicated date/hour. |
Manage objects/programs | Opens the Object / Programs window allowing the user to manage the locations and programs. |
Create exception day | Opens the Exception day details window, allowing the user to define an exception day with its Name, Description and associate an Exception type to this day. 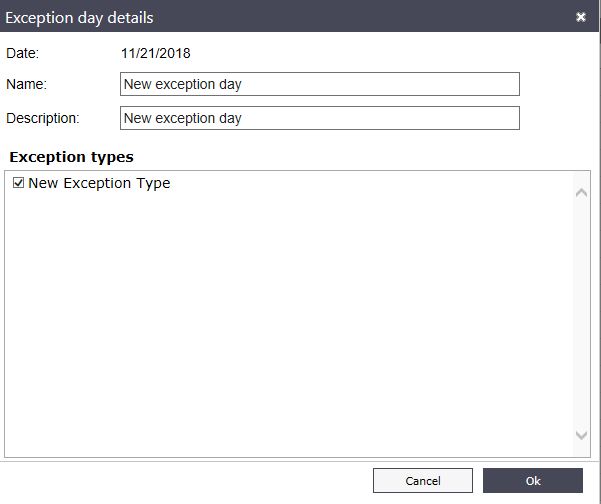 Exception day details |
Open exception types | Opens the Exception type overview window, allowing user to define new exception types or edit and delete existing ones. 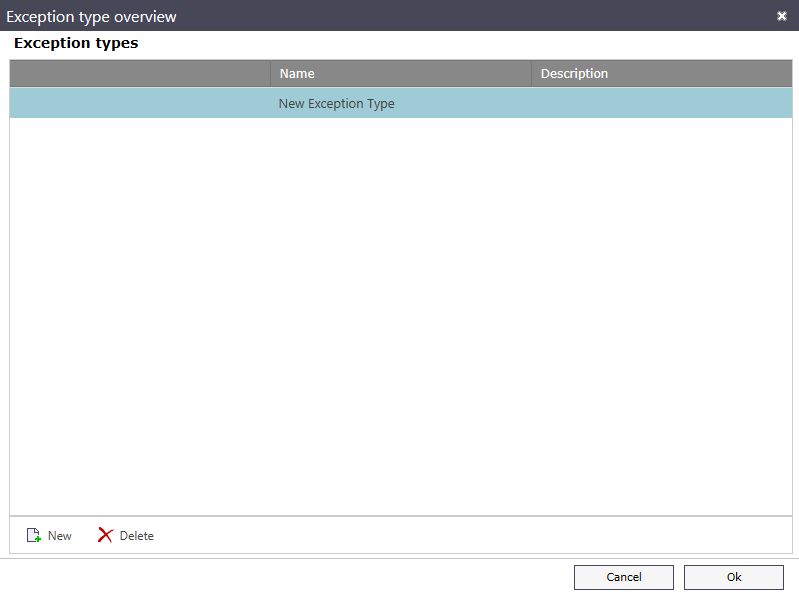 |
Today | Displays the current day in the main view (same as the Today button from the tool bar). |
Go to date | Opens the Day selection window, allowing the user to manually select a date and display it in the main view (same as the Calendar panel).  |
When right-clicking on a scheduled event, the contextual menu will display the following options:
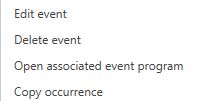
Scheduled event contextual menu
Contextual menu of a Scheduled event | Description |
|---|---|
Edit event | Opens the Event details window allowing the user to edit the selected event. If the event is recurrent, the Edit event option will prompt the user to select whether to edit the current event occurrence or the entire event series. 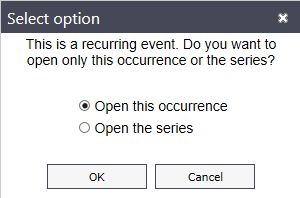 Recurrent event |
Delete event | Deletes the selected event. If the event is recurrent, it will ask the user whether to delete the selected occurrence or the entire series. 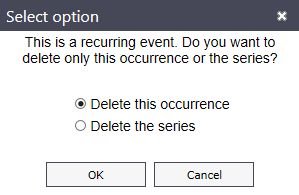 Delete occurrence |
Open associated event program | Opens the Program details window allowing the user to edit the associated program. |
Copy occurrence | Copies the current event occurrence to clipboard and allows to paste it in other empty place. |
Extended location filter
The Filter panel allows the user to filter the displayed locations (and the events and programs associated with it) in the main view.
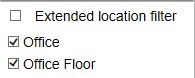
Extended location filter
It is possible to extend the functionality of the filtering panel by using the Extended location filter option. This option allows the user to manage filters, define them and load them. Using this option, more complex filters can be applied on the ShedulerPro module.
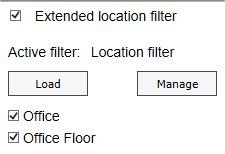
Extended location filter enabled
Load - opens the Filter selection dialog, allowing the user to select on of the existing filter definitions.
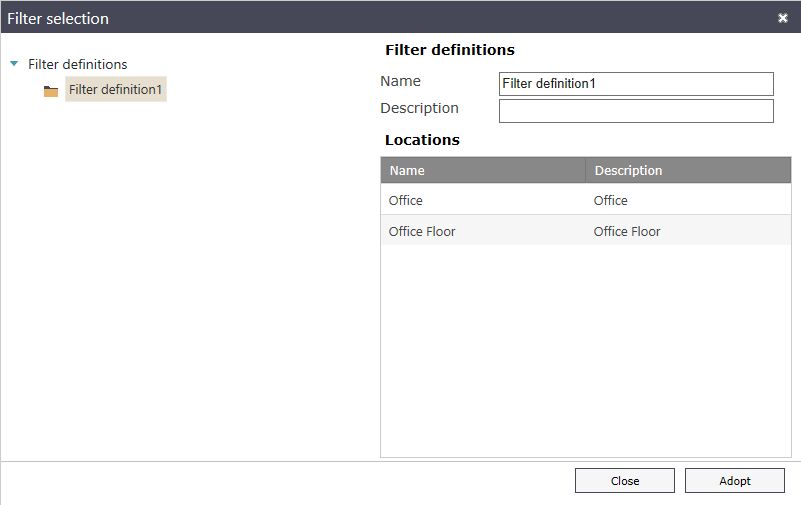
Filter selection window
Manage - opens the Filter Management dialog, allowing the user to create and adopt filters definitions.
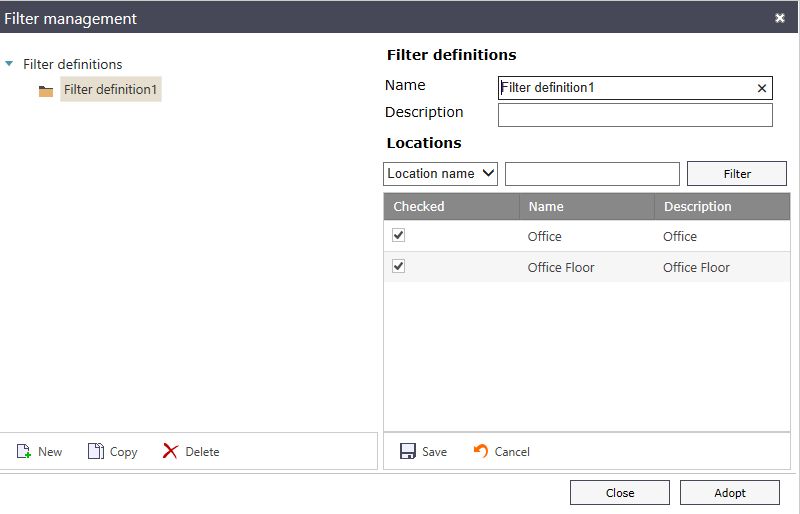
Filter management
SchedulerPro Event Details
Start setting up the i4scada ScehdulerPro Event Details. The Event details window allows the user to manage events.
The Event details window allows the user to set up a new event or edit an already defined event. Event details window is displayed after pressing button New, in Settings area of Studio, under SchedulePro.
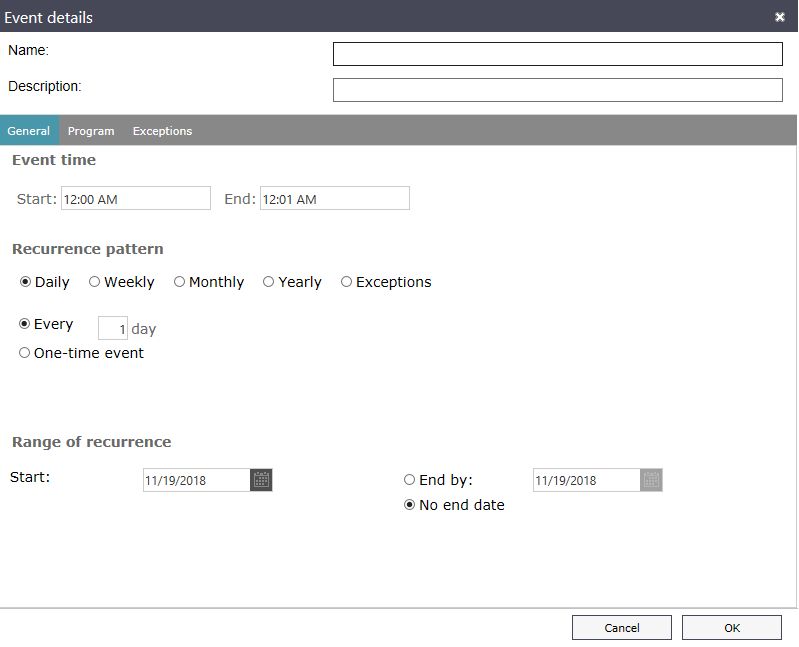
Event details
Any event is defined by the following properties:
Name
Description
Event time, Recurrence pattern and Range of recurrence
Program
Exceptions and adjustments
The Event details window, groups it's properties in three tabs: General, Program and Exceptions.
General TAB
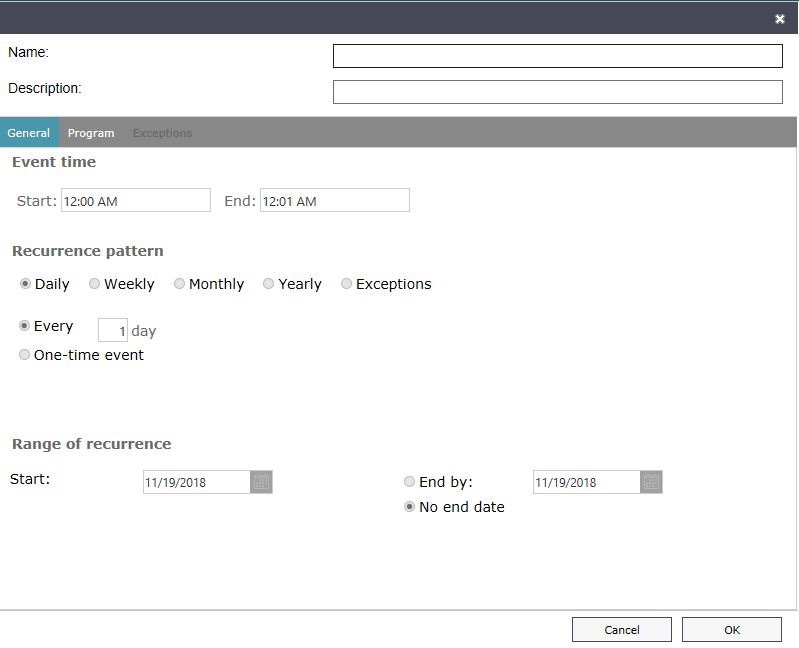
The General tab contains the time-related settings: Event time, Recurrence pattern and Range of recurrence.
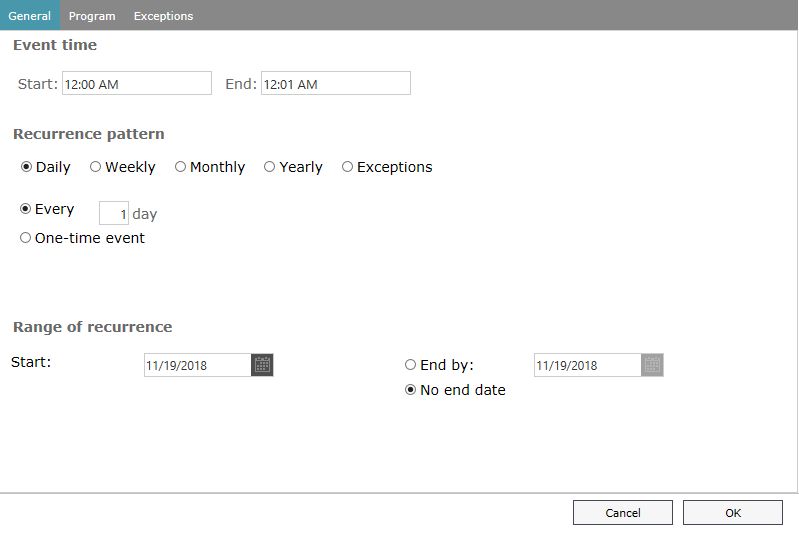
Event details - General TAB
Event time - allows the customization of the start and end time.
Recurrence pattern - allows the selection of a recurrence pattern. The recurrence pattern can be set to Daily, Weekly, Monthly, Yearly, Exceptions or repeat at every selected day intervals. One may also chose to set it as a one-time event.
Range of recurrence - allows the user to set the range of time in which the event will repeat.
Program TAB
The Program tab allows the user to associate any existing program with the event and even create new programs to be associated. The Program tab will also list the details of the associated program, like Name, Description, Color and Location.
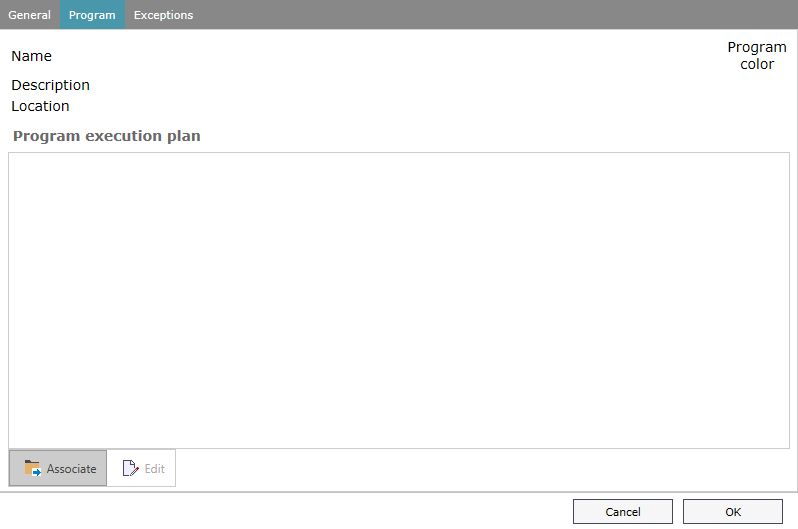
Event details - Program TAB
At the bottom of the Program tab, the two buttons allow the user to manage the programs:
Associate - opens the Event-program association window, which allows the user to associate an existing standard program, create/edit/delete a standard program, or associate an Inline program of the current event. This latter option will create a one-time program.
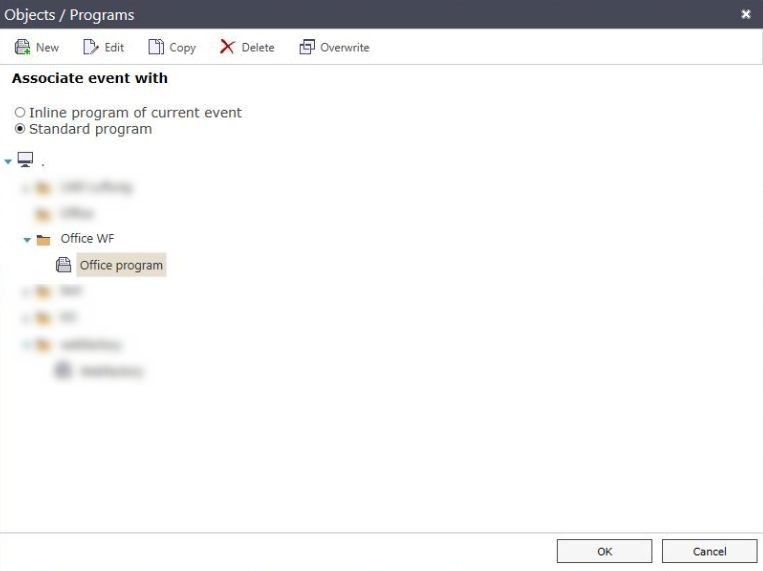
Event-program association
New - creates a new Location for Program association
Edit - opens the Program details window, which allows the user to edit the program details.
Delete - deletes the selected Program
New - opens the Program details window, where a new Program may be created
Exceptions TAB
The Exception tab contains the settings that allow the user to create exceptions and adjustments.
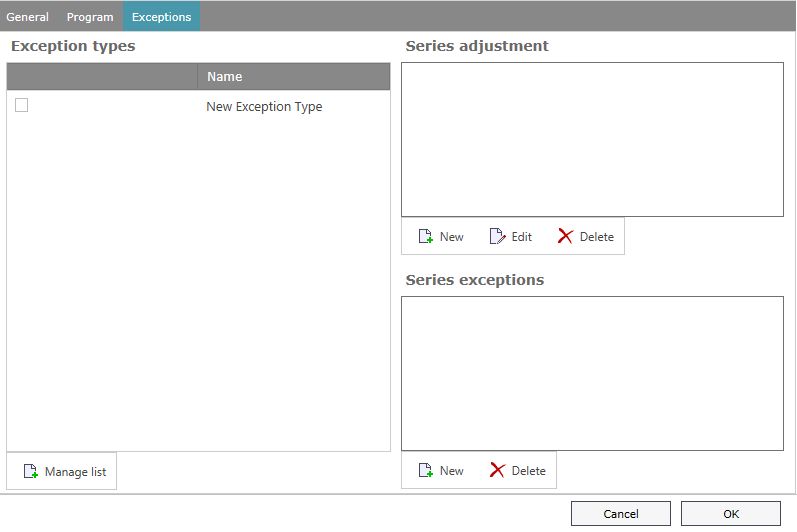
Exceptions TAB
Exceptions types
The user has the option to associate exceptions with exception types. The Manage list button allows the user to manage the existing exception types.
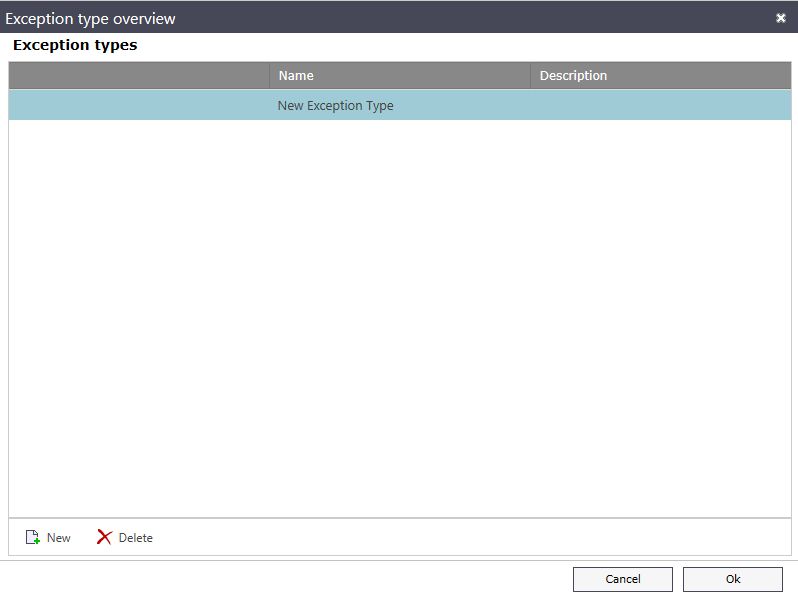
Exceptions type overview
Series adjustments
The Series adjustments are applied to the whole event series. The user has the option to create, edit and delete series adjustments.
New - opens the Day selection window, allowing the user to select the day in which the event will be altered by replacing the event's program with the adjustment program.
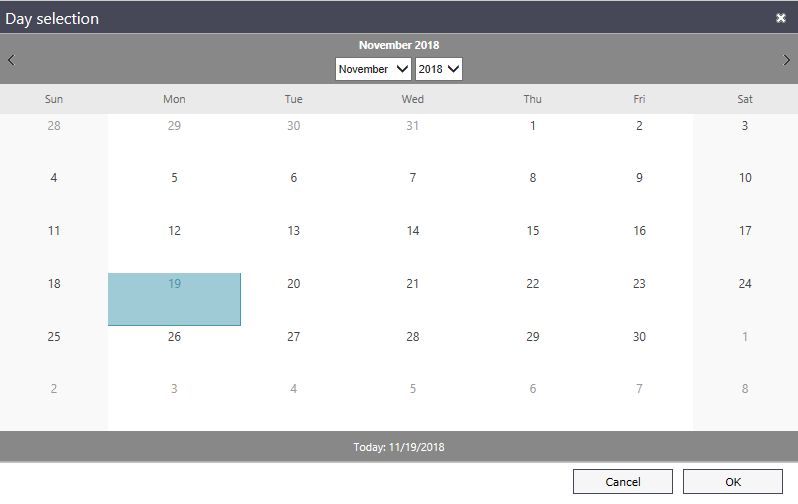
Day selection
After selecting the desired day, the Series adjustment details window will be opened.
Edit - opens the Series adjustment details window, allowing the user to create, adjust and associate a program with it (much like the Event details).
Series adjustments details
Delete - deletes the selected adjustment
Series exceptions
The Series exceptions represent dates when the event's program will not be active. The user has the possibility to add new exception dates or delete existing ones.
SchedulerPro Objects / Programs
Set up i4scada SchedulerPro Locations and Programs in the Objects / Programs window of the Studio application.
The Object/Programs Window allows the user to manage the locations and programs. Object / Programs window is available under the Studio Settings section.
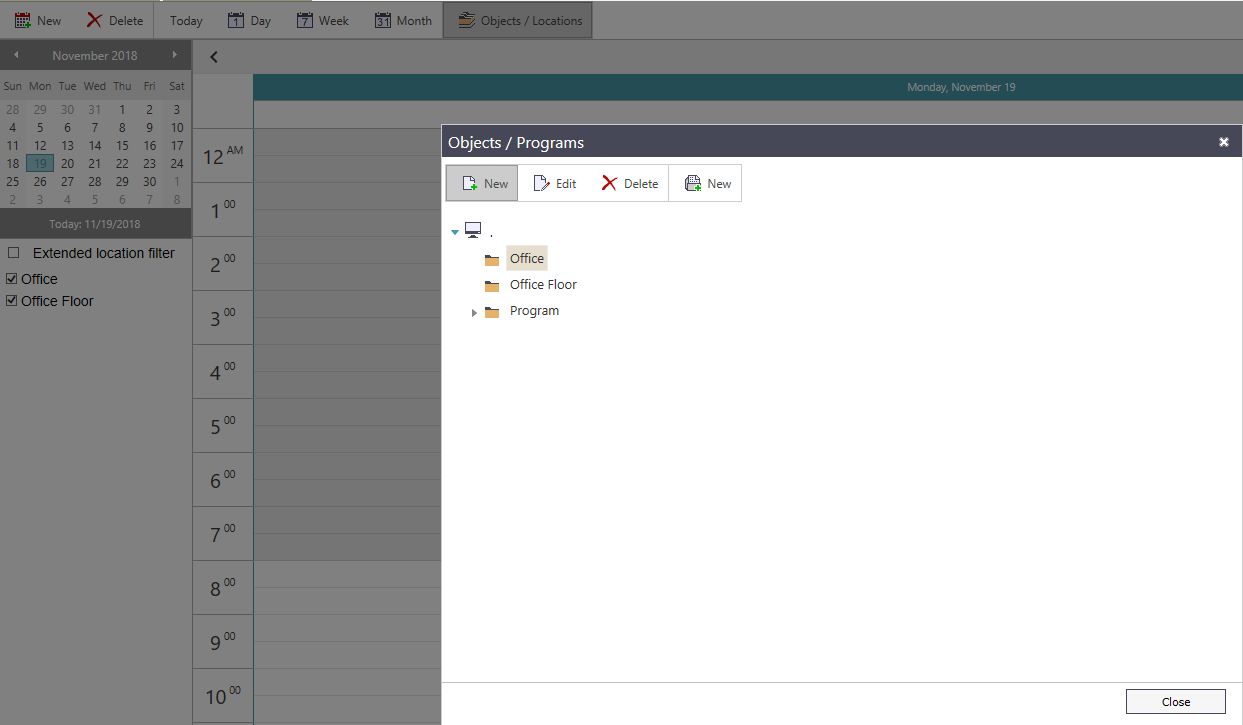
Objects / Programs
Depending on the selected item (location or program), the toolbar will display the appropriate options:
Location
The user has the ability to create, edit or delete locations and create new programs for the selected location.

Locations management
New - opens the Location Details window allowing the user to set up a new location.
Edit - opens the Location Details Window, allowing the user to edit the selected location.
Delete - removes the selected location.
Program
The user has the ability to create, edit, copy and delete programs.
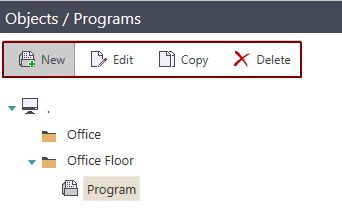
Program
New - Opens the Program Details Window, allowing the user to create a new program.
Edit - Opens the Program Details Window allowing the user to edit the selected program.
Copy - copies the selected program to the clipboard, allowing the user to paste it to other locations.
Delete - removes the selected program.
The contextual menu offers the same options as the toolbar, depending on the item that is selected when opening it.
SchedulerPro Location Details
Check out this article for more information about the i4scada SchedulerPro Location Signals and the options available for setting them up.
The Location Details window allows the user to define the details of a location. To access the Location details window, open the i4scada SchedulerPro and go to the Object / Locations tab. In the Objects / Programs window, click the button New.
Tip
For a step-based description of the Location creation use case, check also the tutorial here.
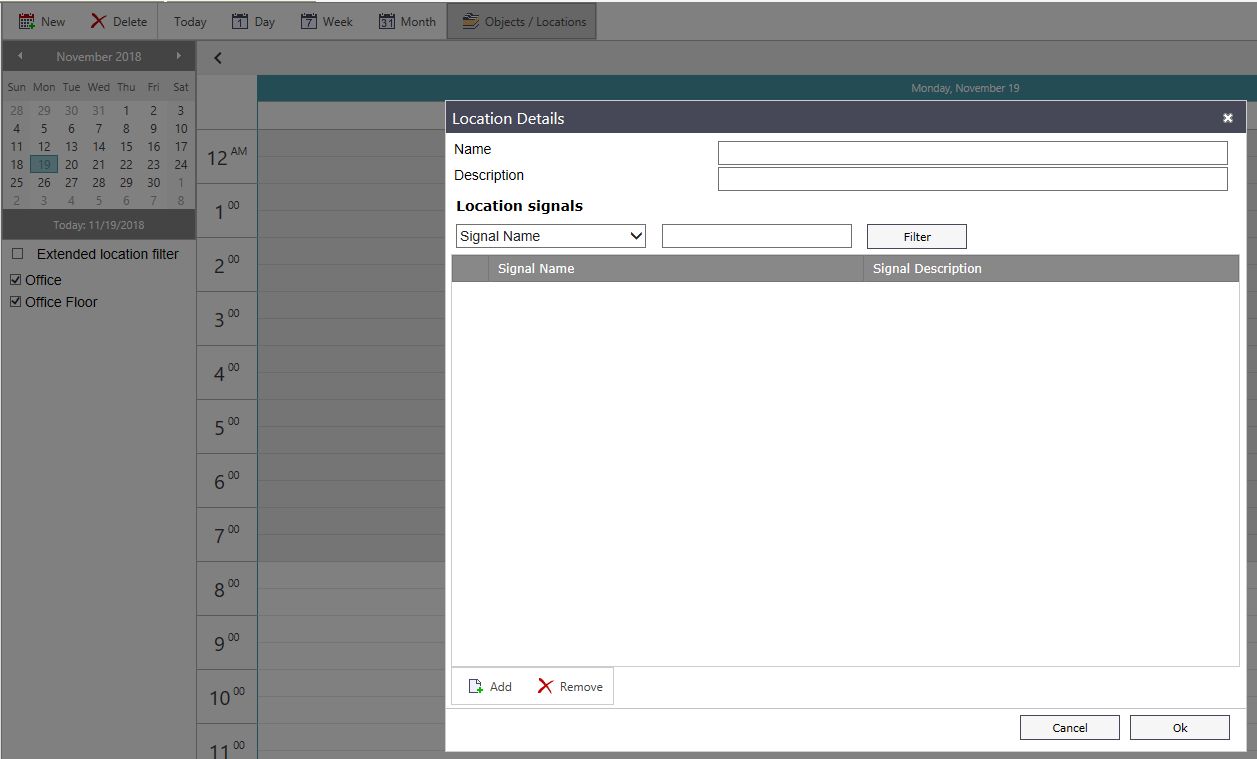
Location Details
Any location is defined by its Name, Description, and Location signals.
Location signals
The Location signals section of the Location Details window allows the user to select the signals that will be used in the defined location. It also allows the user to filter the existing location signals based on the signal name or signal description.
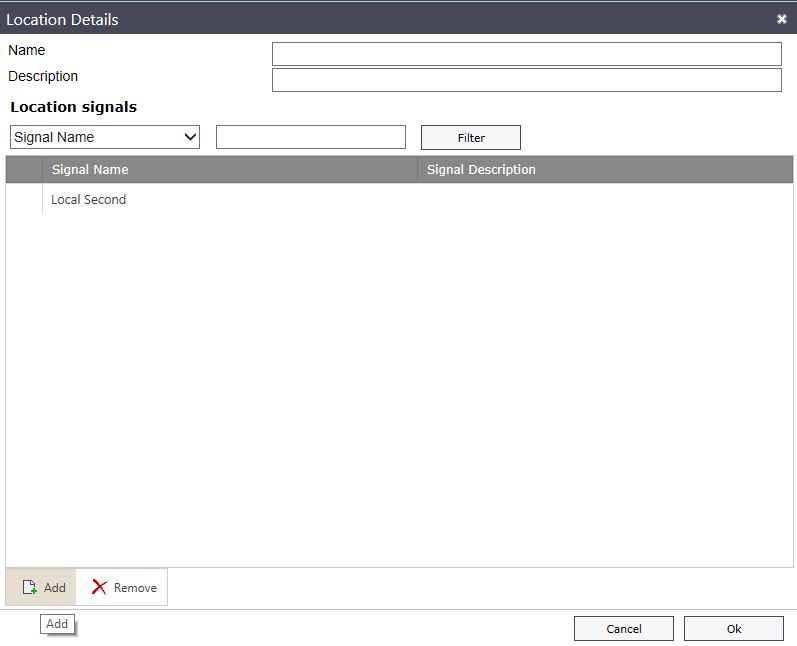
Location signals
By clicking the Add button, the Signal Browser pop-up dialog is opened, allowing the user to select a signal to be used as a location signal. The signals must be set up in the Module Signals section of the i4scada Studio Settings prior to usage.
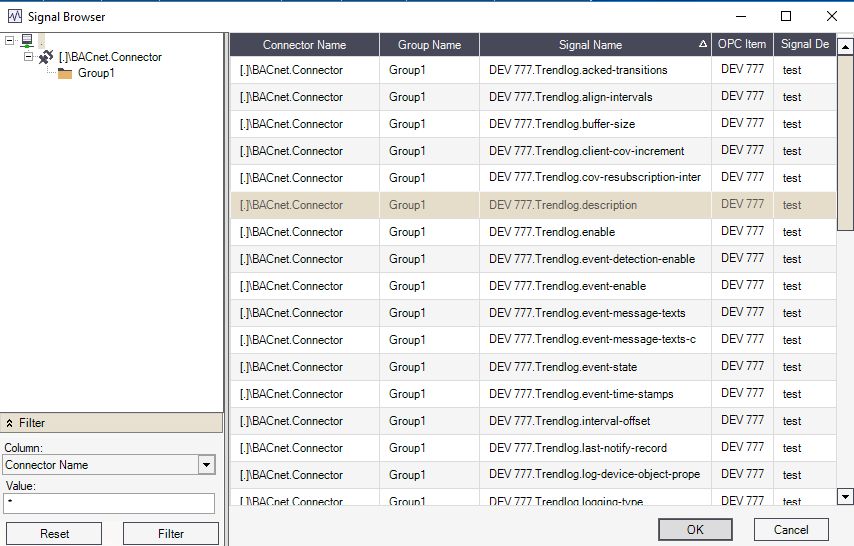
Signal browser
By clicking the Remove button, the selected signal(s) are removed from the location.
SchedulerPro Program Details
Learn how to organize the i4scada SchedulerPro Program Details settings and how to define afferent sequences.
The Program Details window allows the user to edit the details of programs.
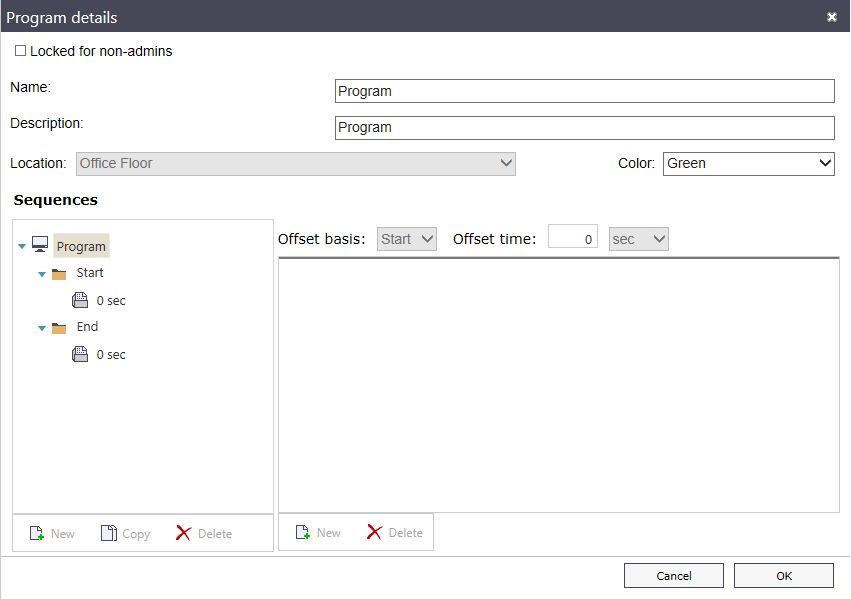
Program Details
Any program is defined by its Name, Description, Color, Location, and Sequence. The program Locked for non-admins option makes the program inaccessible for users without administrator privileges.
Sequences
The Sequences section of the Program Details window allows the user to set up actions sequences for the program, using the Start and End time markers of the sequence to offset the actions.
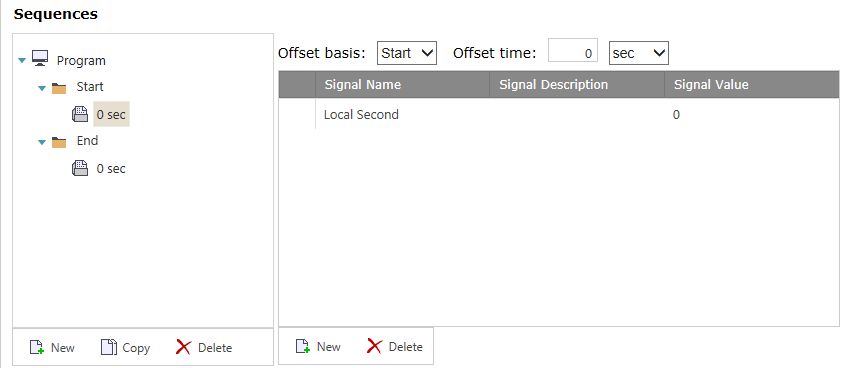
Sequences section
Sequence tree structure
The left side tree structure represents the action sequence. The actions are defined relative to the Start and End of the program. The buttons at the bottom side of the panel allow the user to create a new sequence step, copy a sequence step or delete a selected step.
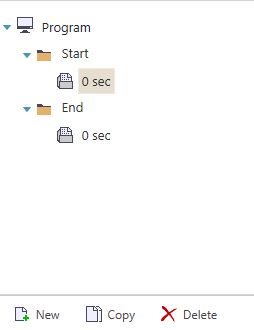
Sequence tree section
The sequence steps names represent the time relative to the Start or End markers. The steps that are relative to the Start markers are offset with the selected amount of time, meaning that the actual step will run at the specified time after the Start of the program.
The steps relative to the End marker will run at the specified time before the End of the program.
Sequence actions
The right-side panel represents the sequence of actions. The actions are defined by the Offset basis, Offset time, Signal to be written and the Value to be written.
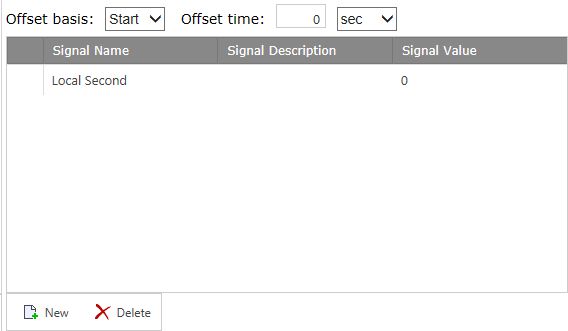
Sequence actions
Offset basis - the marker to which the action is relative. The action can be relative to the Start marker or End marker of the sequence.
Offset time - the amount of time the action is offset from the basis. If the basis is the Start marker, the action will start after the time specified here. If the basis is the End marker, the action will start before the End of the sequence, offset with the amount of time specified here.
Signal Name - the name of the signal to be written when the action is triggered.
Signal Description - the description of the signal.
Signal Value - the value to be written to the signal.
New - opens the Signal Browser, allowing the user to select one of the signals available to the location of the program.
Delete - deletes the selected signal.