The i4Identity Login page
The i4Identity login page allows you to gain access to the i4connected application by entering your username and password or by authenticating using another provider.
After registering to i4connected the user can access the portal, using the preferred browser, by using the i4Identity Login page.
Tip
For more details about the i4Identity Registration page, please also visit the dedicated article, here.
By default, the portal is accessible for the user by normal login (by providing Username and Password) but other authentication providers can be enabled, such as Facebook, Twitter, Google, Microsoft, and Custom OpenID Connect.
Tip
In order to enable external login providers at the level of i4connected API check out this article. As the external providers need to be enabled at the level of the i4connected server, as well, check out this article.
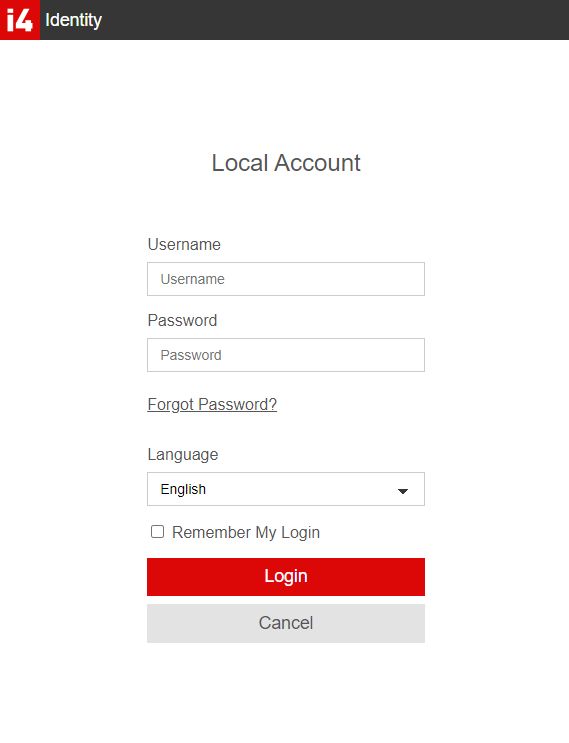
i4connected Login page
In this view, the user can select the language to be enabled for the portal, by choosing the desired option from the drop-down list. If the language is not changed, the default portal language will be enabled. The default language is defined at user creation, but it may be changed in edit user mode.
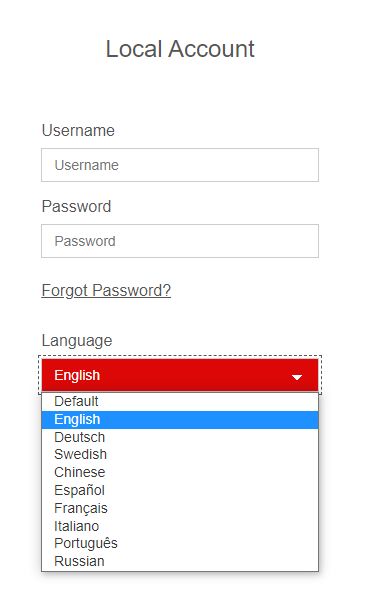
The Language selector
Clicking the Remember My Login box tells the browser to save a cookie so that if the users close the browser window without signing out, the next time when they return, they will be signed back in automatically. It is, however, important to know that signing out of the portal, will completely negate the Remember My Login function, therefore the users will be required to manually type the sign-in information again when they return.
Warning
The used browser should be set to remember cookies, otherwise, this function will not work.
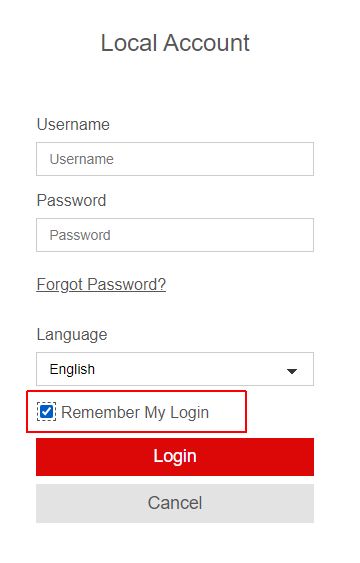
The Remember flag
After adding the credentials and pressing the Log on button, the application is opened displaying the i4connected default page.
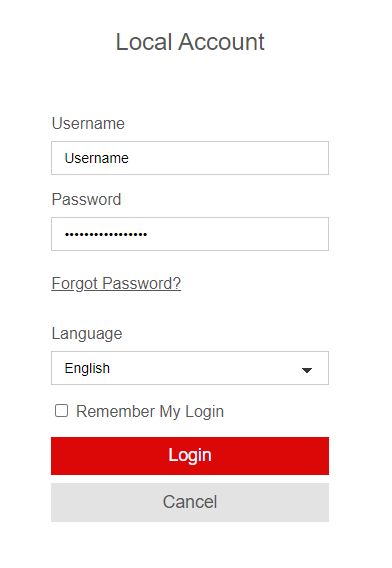
The Logon button
If the credentials are incorrect, the system displays an error message and allows the user to retry filling in the correct ones.
Note
The Username field is case-insensitive.
Tip
In case you have forgotten your password, click on the Forgot Password? clickable field.
The Forgot Password? field allows the user to change the password. By clicking the clickable field, the i4Identity Forgot Password is opened.
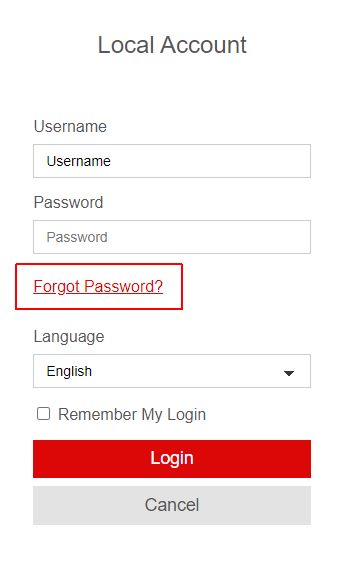
The Forgot Password field
In this view, the user is required to fill in the Username and ask for the reset email, by clicking the Send reset email button.
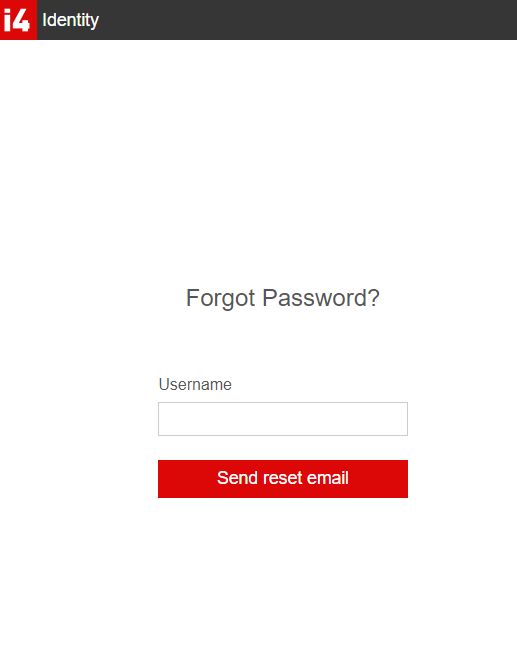
The Forgot Password page
An email is delivered to the Email account associated with the respective user.
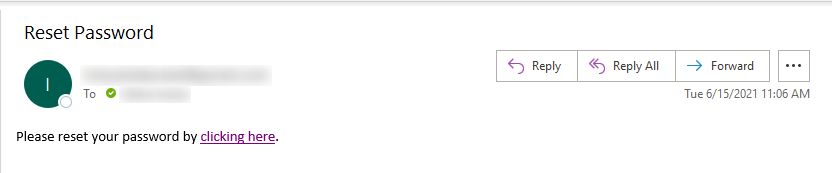
The Reset Password Email
By following the Email instructions, the user is redirected to the Password Change Confirmation page. In this view, the user can type in the new password, and retype it to confirm the change.
The new password must meet the following requirements:
Passwords must be at least 6 characters long.
Passwords must have at least one non-alphanumeric character.
Passwords must have at least one lowercase ('a'-'z').
Passwords must have at least one uppercase ('A'-'Z').
Passwords must have at least one digit ('0'-'9').
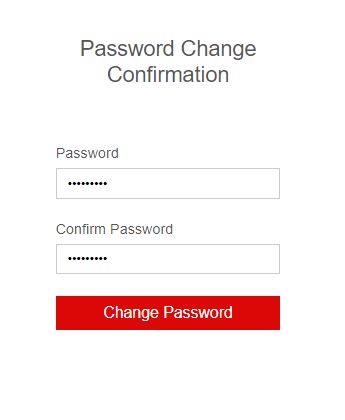
The Password Change Confirmation page
After filling in the new password, the user can click the Change Password button. Consequently, a confirmation message is displayed on the screen.
Password Changed Successfully message